

Installing Your New Luxury Grass
Our luxury artificial grass is designed to be fitted by you, so matter which you choose you’ll be able to give your garden a glow up without forking out for costly installation fees.
From the tools you’ll need to prepping the area and laying the grass itself, we’ve pulled together everything you need to know about installing your new artificial grass.
Before you get started
1. CHECK THE PACKS
Once your luxury grass has arrived, check one box to make sure you’re happy with the product.
2. PREPARE THE AREA
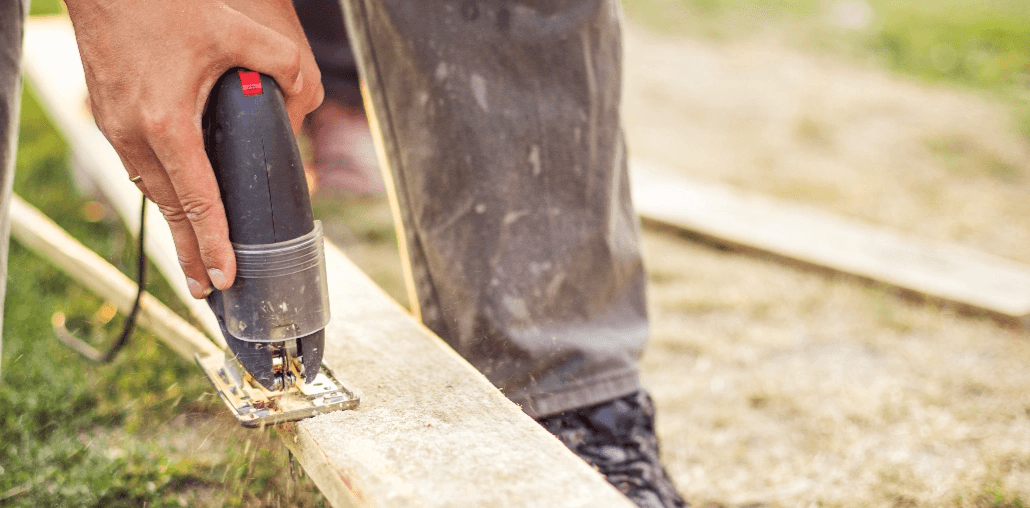
Before you can install your new luxury grass, you’ll need to clear away any debris and prepare the area.
If the area where your grass will be laid has any existing grass, you’ll need to remove this and use weedkiller to clear any plant growth. You can use a Turf cutter if you have one, but a shovel will also do the job. We recommend removing 5 - 8mm of grass to prevent issues with regrowth.
If you’re loose laying your grass as a temporary measure, apply weedkiller to the area following the manufacturer’s instructions. You won’t need to remove the existing lawn but make sure you wait until the area is completely dry before moving to the next step.

1. Edge the perimeter
Once you’ve cleared the area and removed your existing lawn, you’ll need to edge the perimeter with timber, ensuring each piece is level with the surrounding area. Knocking it with a hammer and space piece of timber will help secure it firmly into the soil.
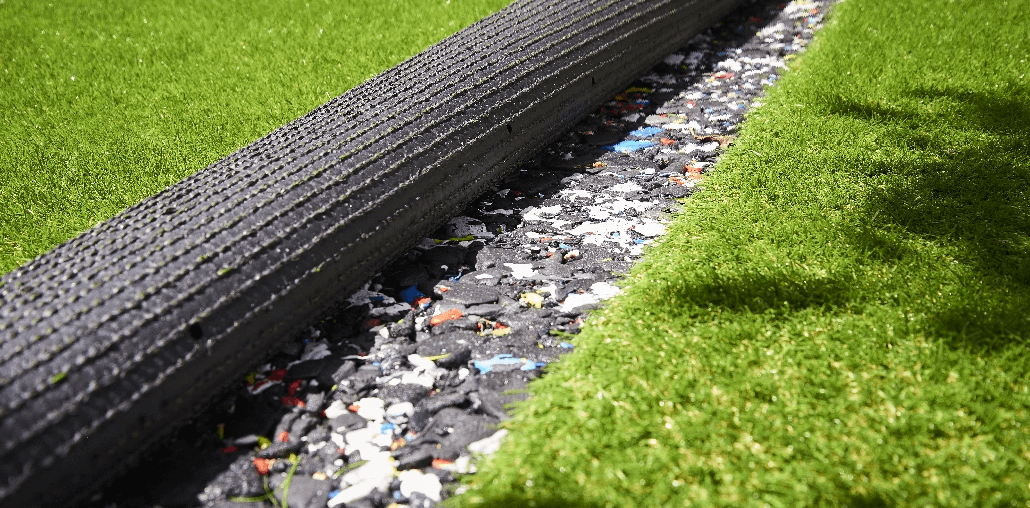
2. Create a solid base
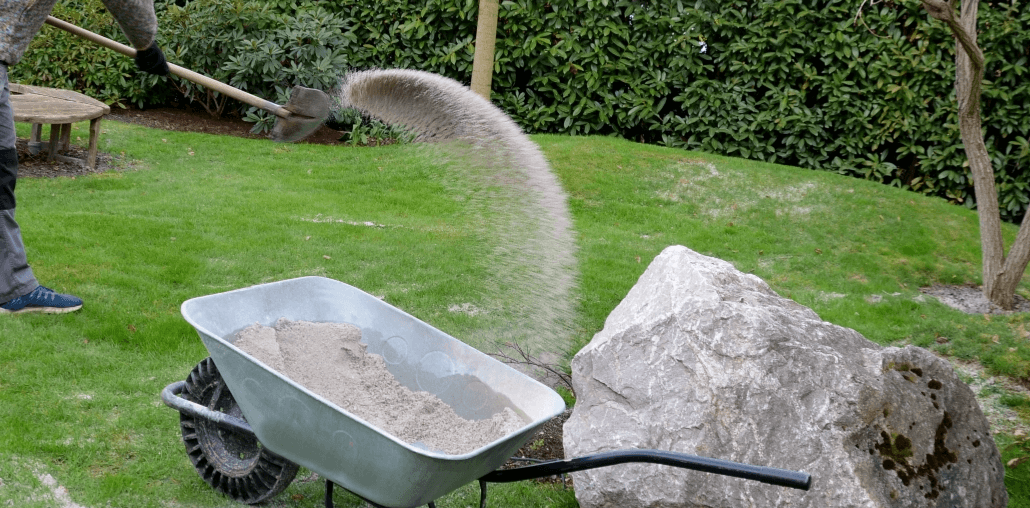
Use a whacker or vibrating plate to compact the soil until it’s firm but porous, then add a 50 - 75mm layer of MOT Type 1 hard core (opt for Limestone chippings instead if you have pets or if your garden suffers from drainage issues).
Next, add around 15mm of sharp sand or dust granite to the area (you’ll need roughly 25kg of sand per m²) and compact the ground again until it’s level with the surrounding areas.
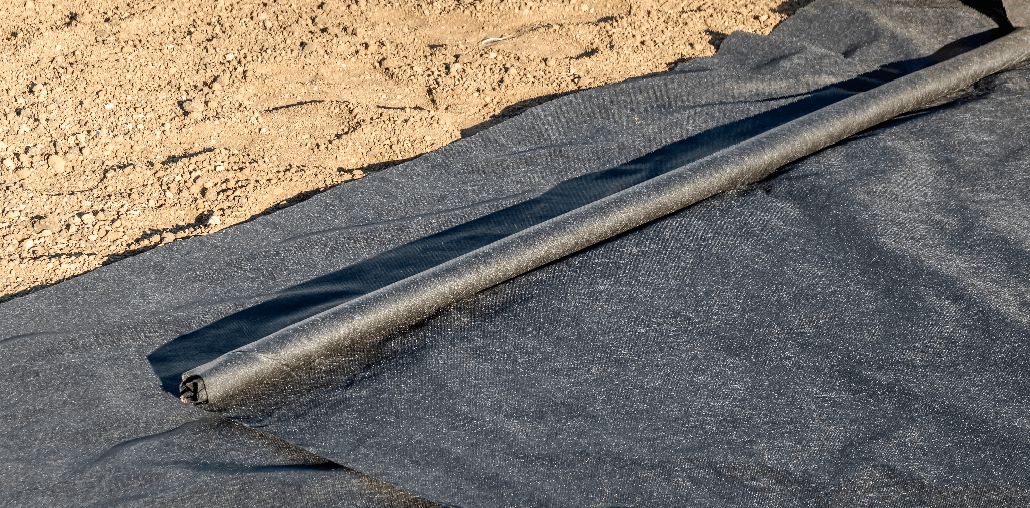
3. Lay the weed membrane
Once the area is nice and even, lay the weed membrane over it and attach it to the perimeter, before trimming away the excess.
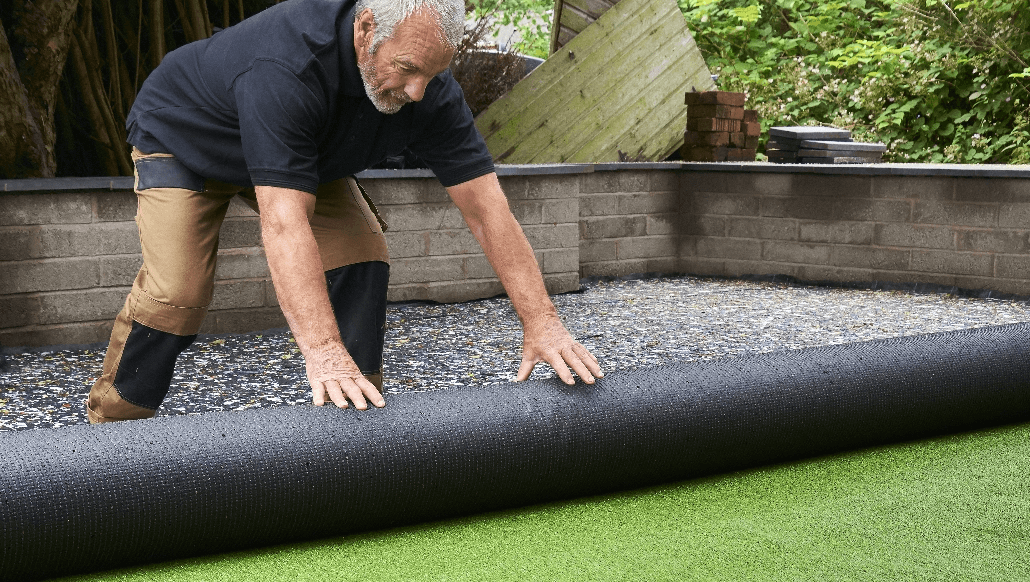
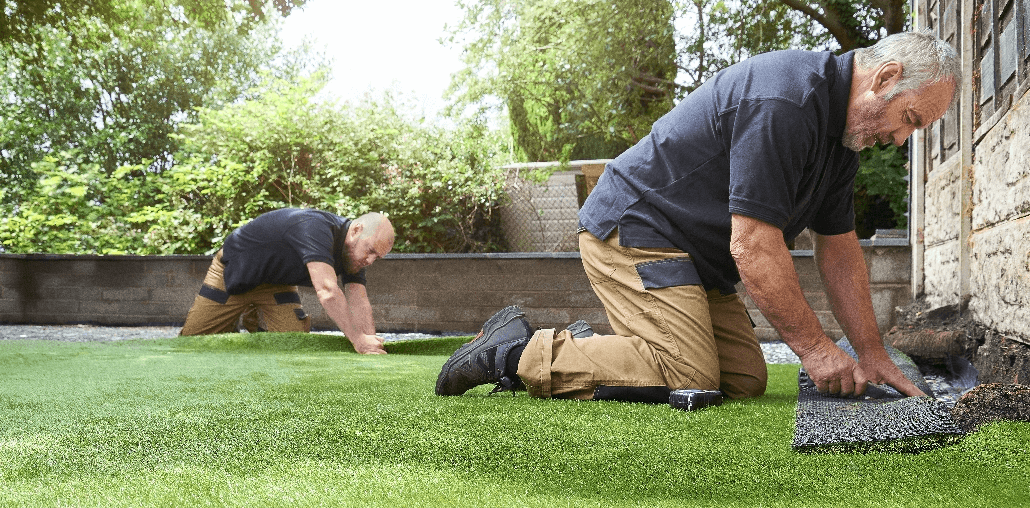
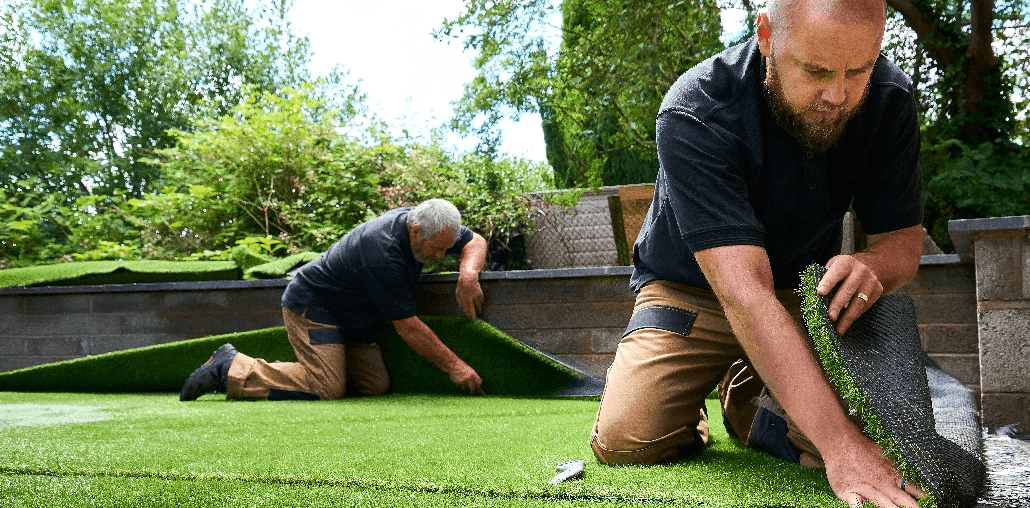
4. Lay your grass
Line your luxury grass up with one of the corners of your timber border, ensuring it’s sitting flat and taut.
We recommend laying your grass with the pile facing the same direction for each roll. Maintaining a consistent pattern will help ensure the finished result looks as authentic as possible.
It’s best to lay your grass so that its blades are facing your vantage point. For example, if you’re installing grass in your back garden, the blades should point towards the house. If your grass is laid in your front garden however, the pile should be directed away from the house.
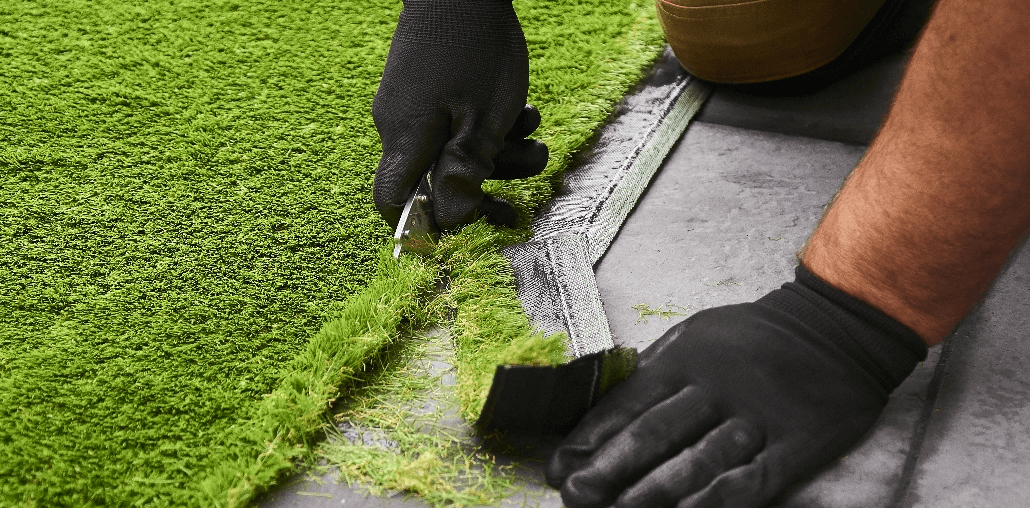
5. Secure your grass
Once you’ve positioned your grass, check the perimeter for any parts that run over the timber barrier and trim these away. To secure your new lawn to the timber, use galvanised fixing nails roughly every 15cm all the way around the perimeter.
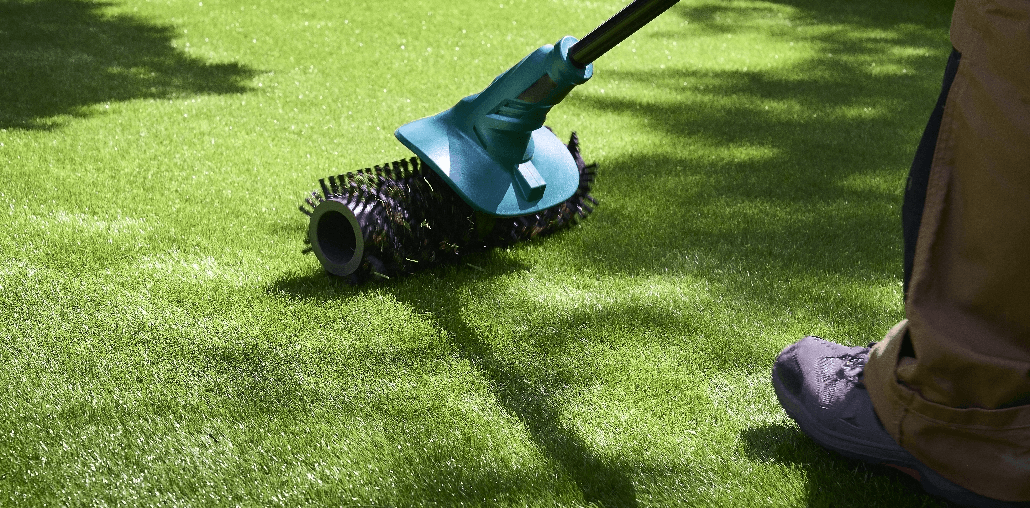
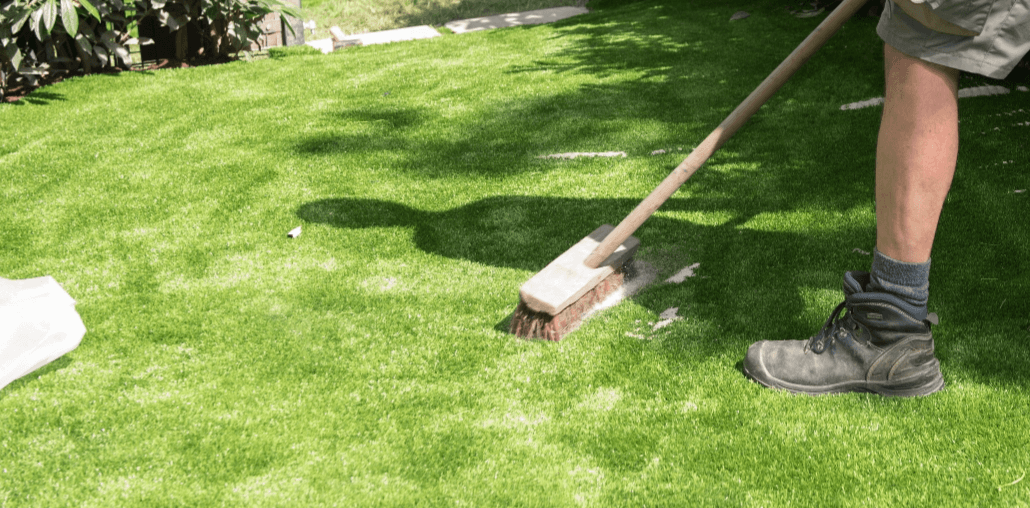
6. Brush your grass
Now that your gorgeous new grass is in place, you can take your rake or broom and brush it through. This will soften its fresh-from-the-box look and create a more authentic finish.
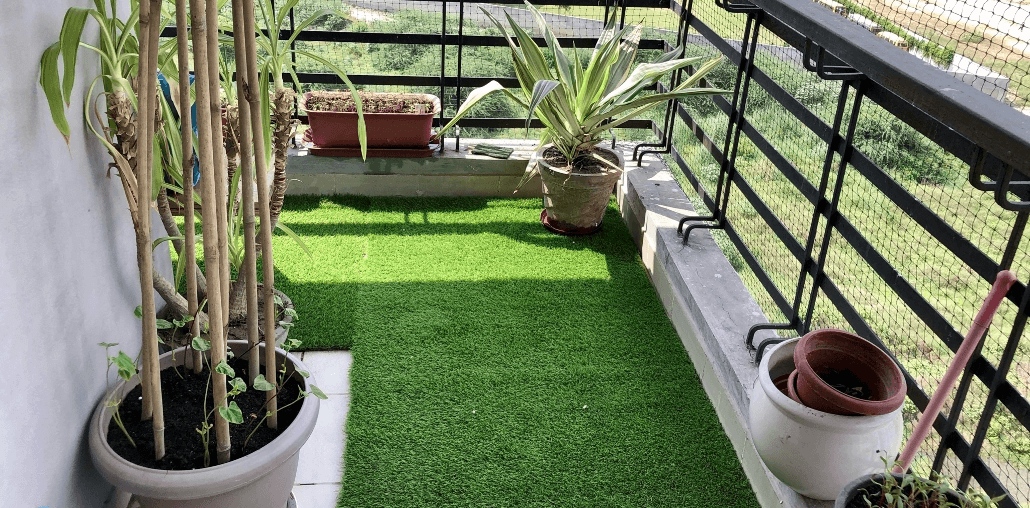
1. Lay and secure your grass
When using luxury grass to cover a small area there’s no need to nail the grass to secure it. Instead, use large potted plants or other heavy items to keep your grass in place.
2. Finish your grass
Once your grass is in place, all you’ll need to do is brush it with your rake or broom to help achieve that authentic grass finish.
1. Lay the weed membrane
Once the area has been prepared, you’ll need to lay a weed membrane over the top. This will prevent any existing grass from growing through the surface of your new lawn. The membrane can be left loose or secured with pins if you prefer.
After your weed membrane has been laid, you can use a sharp Stanley knife to shape the grass. You may find your grass already matches the area you want to cover, so if that’s the case, simply lay it over the area.
2. Lay your grass
Once you’ve covered the area with your new grass, pull it taut and secure it directly into the ground with U-pins.
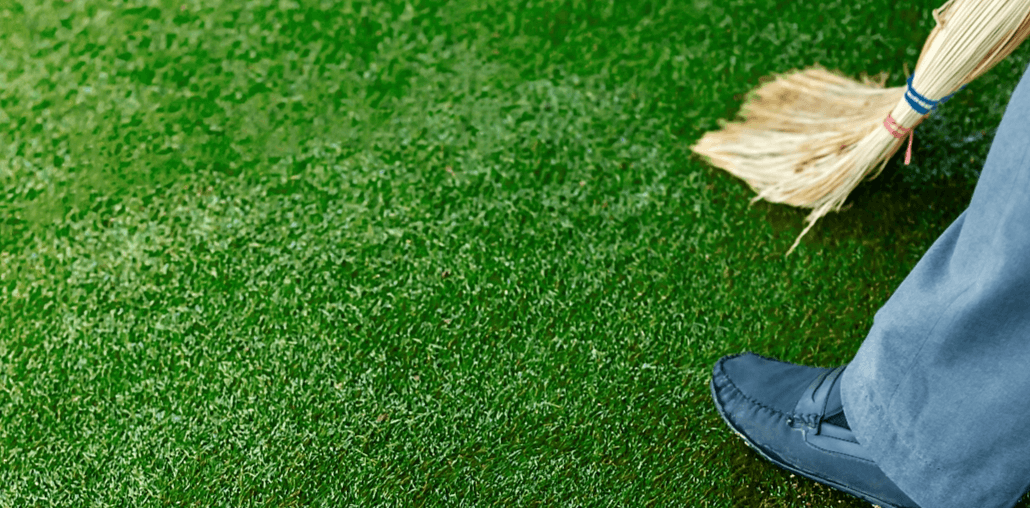
3. Brush your grass
Take your rake or broom and give your lawn a brush. This will give your new luxury grass a lovely, natural looking finish.
1. Lay and secure your grass
Lay your luxury grass over the area, removing any ripples by stretching it out until it lies nice and flat. Secure the grass around the perimeter with artificial grass adhesive.
If you want to glue the whole area of grass, make sure it’s properly secured and then use a carpet roller to flatten the surface.
2. Finish your grass
When you’re happy with your new lawn, you can dress it with kiln dried sand (roughly 8kg per m²). Use a stiff brush to brush the sand through the pile.
It’s important to note, this process must only be carried out in dry conditions.
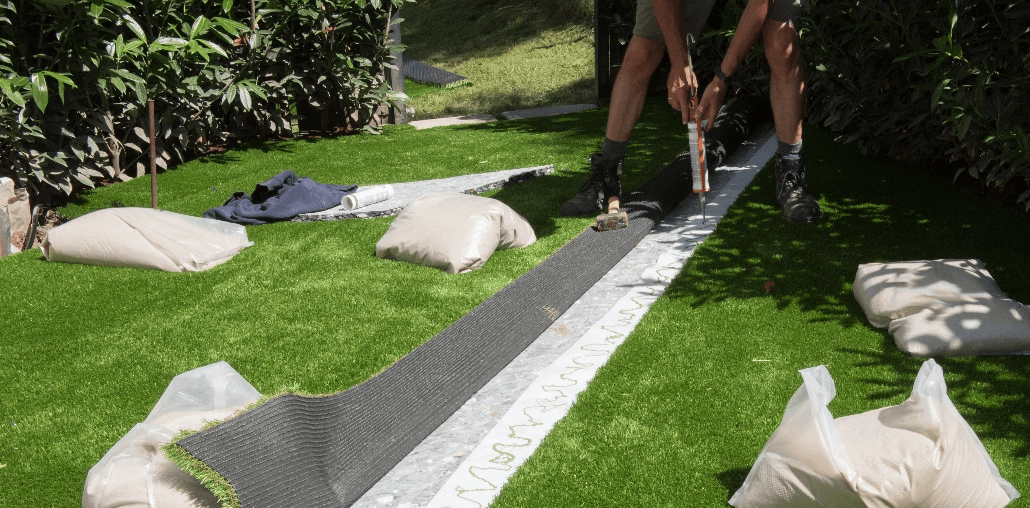
1. Before joining your grass
Before joining two or more pieces of luxury grass, it’s important to ensure the pile runs in the same direction in each piece. Place the pieces next to each other, pile facing up and line up the edges.
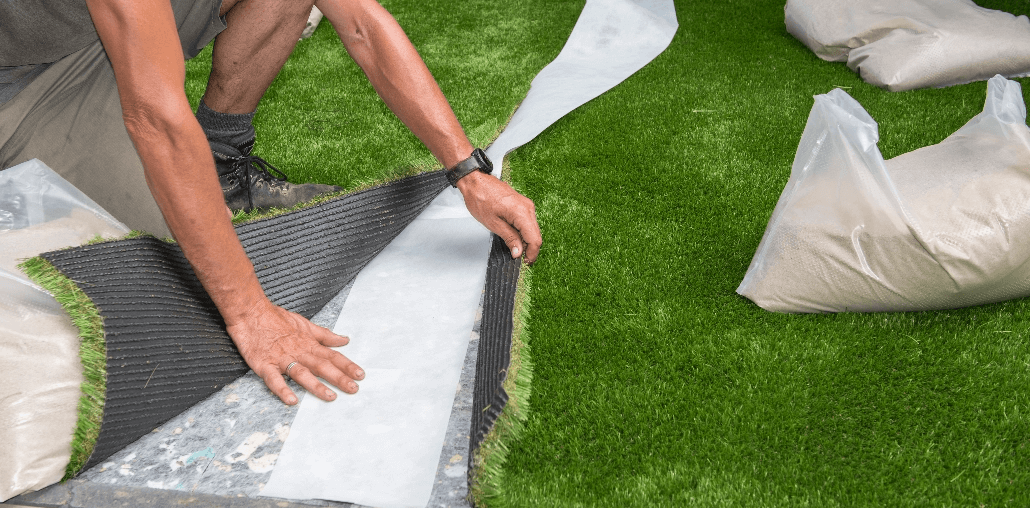
2. Prepare the joining cloth
Apply artificial grass adhesive in a zigzag line along the cloth and again in a line up both sides of the zigzag.
3. Join your grass
Fold one side of your luxury grass over half of the cloth, then fold the other side over the other half of the cloth. Make sure your two pieces of grass are pressed together all the way along the joining seam, then press firmly against the length of the seam to secure the adhesive. Leave to dry.
4. Finish your grass
Once the adhesive has dried completely, take a stiff brush and apply kiln dried sand through your grass.
How to Finish Your Grass
There’s one last thing you’ll need to do to put the finishing touches on your new lawn.
Take your kiln dried sand and an artificial grass rake or stiff broom and brush it through the grass.
The sand will help improve drainage, prevent the growth of moss and weeds and reduce the risk of wrinkles and static, while brushing your grass will help achieve a gorgeous natural look.
It’s important to note, this process must only be carried out in dry conditions.
Get in touch
We’d love to see your new luxury grass in action.
Get Social
Don’t forget to follow us on Instagram and share your garden transformation using #MyLuxuryGrass. We’re always looking for gorgeous snaps to feature on our blog posts and social media!
Chat to us
Got a question or need some advice on fitting your grass? Our friendly team of grass specialists are always happy to help so don’t hesitate to get in touch.